Showing posts with label Holiday. Show all posts

Thursday, March 1, 2012

Easter Egg!


Ok, so for my birthday I took a couple of days off.  Feels good.  Did whatever I wanted.  And today, I wanted to start on my Easter stuff.  I finished my door hanger first.


I bought the set at the wood shop.  It is pretty simple, a wooden oval and three chipboard molding pieces.  I picked out my colors to match my paper, and started to paint.  Noah was horrified.  You should have seen his face after he saw these colors...I am sure he was thinking there is NO WAY that is going on our front door...patience...but seriously I was kinda thinking that too...yuck!


Ok, so now the dress up.  I cut out my papers, and glued them down.  Again, Noah was like "why are they all crooked???"  Geez, I am not perfect...but on a important note, it really doesn't matter if they are crooked when the seams are covered by something else.  Don't judge me...it does look bad!


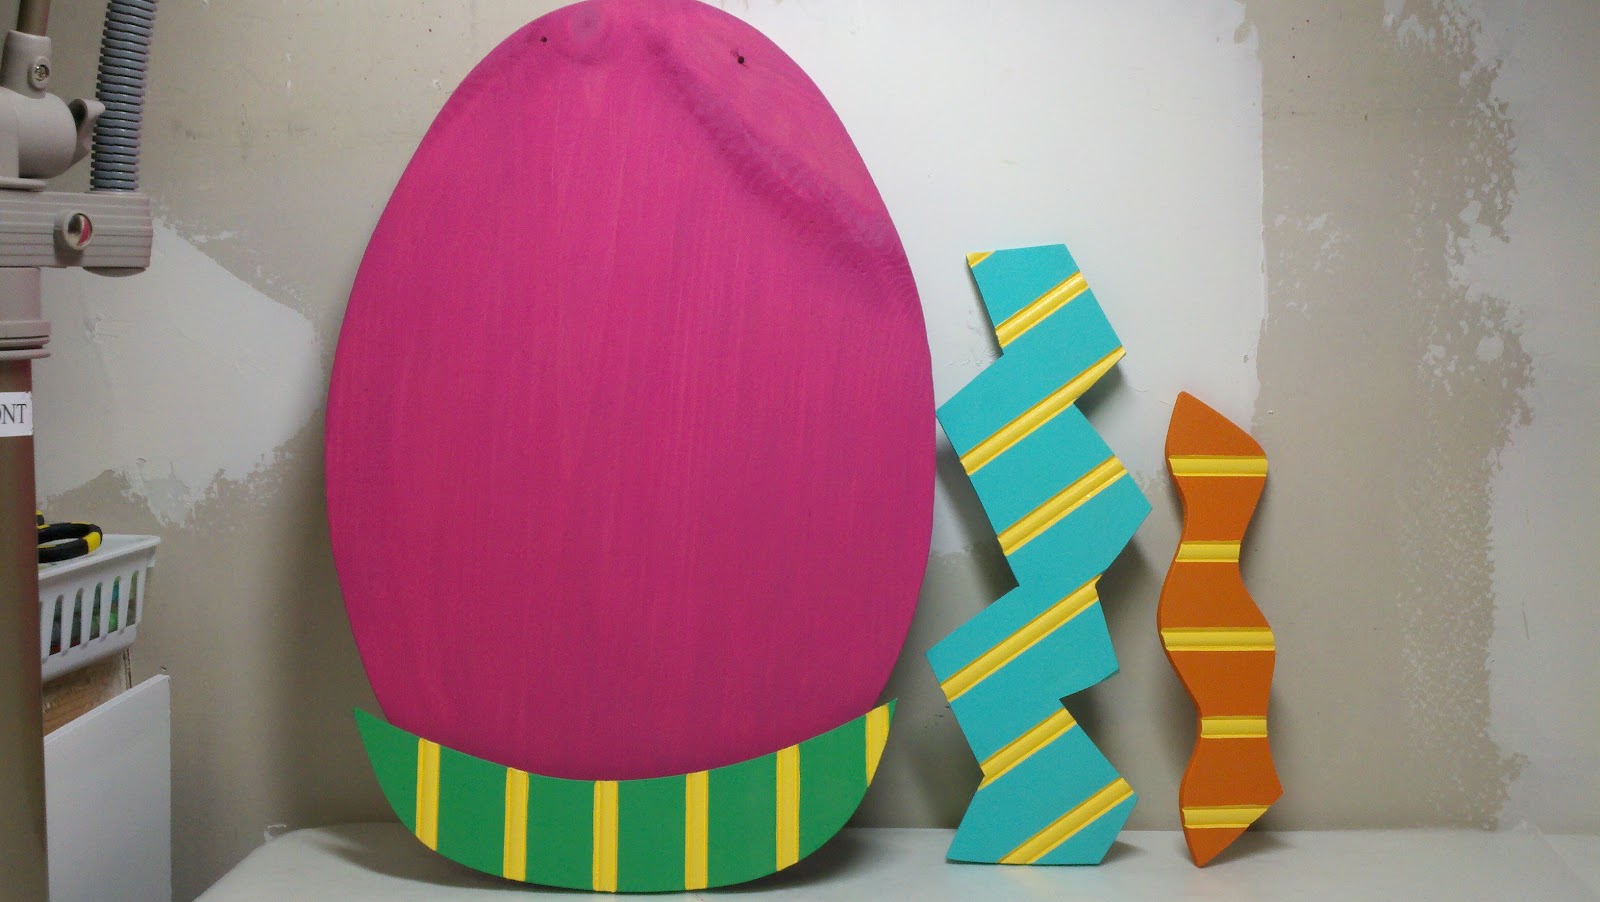
Let's move on from the awful crooked paper to the fun part.  Glitter!!!  Are you surprised? I put glitter on each chipboard piece, except the yellow stripes.  Remember when you use glitter, you can paint your pieces a little darker color if you don't have the exact color you want, and apply a lighter glitter.  Hence the crazy colors I picked...Once I finished the glitter, I used hot glue to attach the chipboard to the egg.


Cute huh.  I used a silver wire for the hanger.  After applying the chipboard, I put some diamond rhinestones on top of the glitter and finished it off with a bow.


One Easter Egg Door hanger C/W!!!

Materials:

-Paper:
     -Purple felt paper by Doodlebug
     -Scallops (Double sided) Summer Days by Echo Park
-Acrylic Paints:
     -Royal Fusha
     -Pumpkin
     -Turquoise
     -Spring Green
     -Crocus Yellow
-Glitter:
     -Frost
     -Mint
     -Apricot
-Diamond rhinestones
-Ribbon:
     -Yellow and green poka dots
     -Pink and white stripes
     -Purple wide toole


Happy St. Patty's Day Month!

I was thinking I needed something for my door for every month, so I have decided to start the projects.  My first month is of course March, so I went with "Luck".  Each month I will make a new door hanger project.  So.  Here we go!


The set came with the wooden "Luck" and the two overlay chipboard pieces for the "L" and "C". 


I bought 3 little chipboard shamrocks to use on this piece, even though at this point I wasn't sure exactly what I was going to do with them.  The demo that was shown when I bought this was very simple with just solid painted letters that were all a different color, with a bow at the top of the wire hanger.  I was less than impressed with this....I like fun...and glitter, so that is all I knew I wanted to do.  I painted the base and "C" in Leaf Green, and the "L" and shamrocks in Christmas green.  The buttons, or medium wooden circles, are painted in antique gold.


I started by gluing the "U" and "K" papers down.  Always work from the lowest layer up.  It can be tricky if you forget and glue the top layers down.  And remember when you paint the front of the the piece, it doesn't have to be perfect, just nice around the edges that will be shown. Next, I used hot glue to secure the "L" and the "C" over the wood piece. 


I glittered all three of the shamrocks, but still didn't know what I was going to do with them.  I also glittered my "buttons" and the "L" and "C".  I decided at this point that I wanted the "L" to have a top hat and gold buttons down it's shirt. So I cut the felt top hat in half so it would lay flat against the door.  Next I needed to add the wire since once I had the top hat glued down, I wouldn't be able to secure the wire.  So.  Wire check.  I positioned the top hat, and tied black, gold, and light green ribbon.  I left the ends long on the light green to secure the first shamrock on the top hat. I finished it off by gluing the top of the hat to the top of the "L", the buttons, and the shamrock on the "C".  I tied the remaining ribbon bow on the top, and alternated dark green and black ribbon down the leg of the leg of the "K".  Turned out great, considering I had no idea what I was going to do with it when I started! 

Materials:

-2 chipboard shamrocks
-3 wooden medium circles
-Green glittered jewel
-Ribbon:
     -wide toole gold
     -wide toole black
     -wide toole dark green
     -light green shimmer
-Black felt top hat
-Glitter:
     -pesto green
     -ebony black
-Acrylic paint:
     -Christmas Green
     -Leaf Green
     -Antique Gold